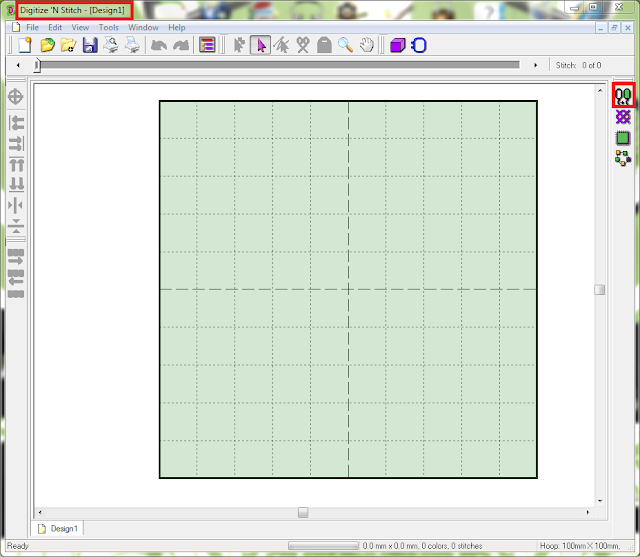
So now that the design is completed, time to make them a reality. If you missed how to design them, you can find it here in the Part I write up.
Once I figured out the magic recipe, these are pretty fun to make!
Start with a tear away stabilizer. I have tried both water soluble and regular tear away and I find them to be roughly the same. The regular tear away stuff is a tad bit more robust for this project.
I brought in my brother pes project into my PR-600II. Here's a shot of where I changed the thread color. I needed to select the "hand" to tell the machine to stop after each layer.
Put the hoop in and hit start. The first pass will do the bubble outline and it's really only to see where to put your fabric. What I have here is some craft stabilizer that I use for purses and things I want to be sturdy and the chosen color fabric.
I lay both the stabilizer and fabric together down over my first layer and make sure the fabric covers the design and let the machine stitch the next layer.
Take the hoop out and cut it next to the stitching line, very closely. I have the best scissors for doing that.
Once I put the hoop back in - I let the machine do the rest. I did 2 on the same hoop. Don't make the same mistake I did once and put it in backwards. (sad trombone) Make sure you put the hoop back the same way.
Next I grab some heat n bond - the ULTRAHOLD stuff. The regular will work too, but in this case, I want to make sure there's a nice strong hold.
Make sure you turn the patch over and draw an outline, otherwise it won't fit properly. Take your scissors and cut out the outline just a smidgen smaller than the drawing. Then iron it onto the patch and it's ready to go!
Pull the stabilizer away and I usually dip my finger in water and run it across the edges to remove the white lint left from the stabilizer. You can even run some fray check around the edges if you like. Since I didn't cut the edges, I'd prefer not to. Fray check leaves the thread very stiff.
I hope Scream will like her new iron on patches!


